|
This video
(originally sold as a DVD) is one of a series in the build
process for the CH750 kit. FUSELAGE Part 1 is a great starting
place to begin your project – there are no prerequisite
assemblies that need to be completed before starting. To get started,
you only need a legal set of plans for the aircraft and the fuselage sub
kit from Zenith. The FUSELAGE Part 1 DVDs take you from the
very beginning steps in assembling the rear and forward section of the aircraft
fuselage. (There is a Fuselage Part 2
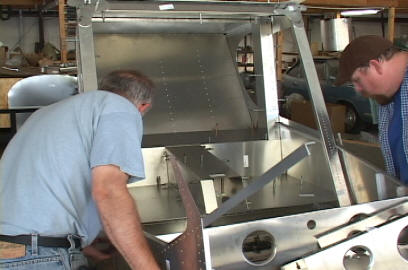
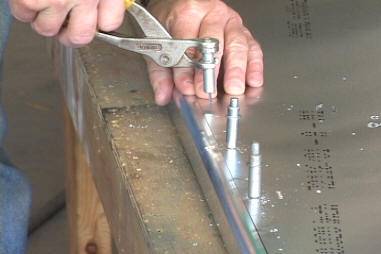
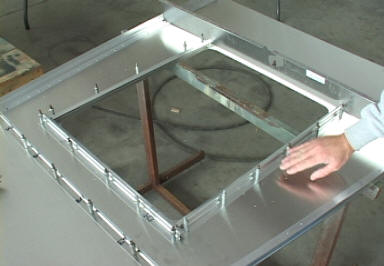
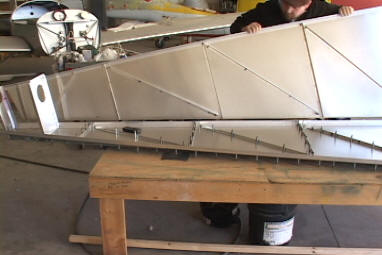
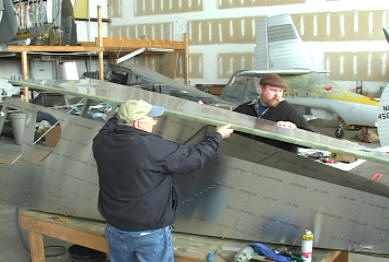
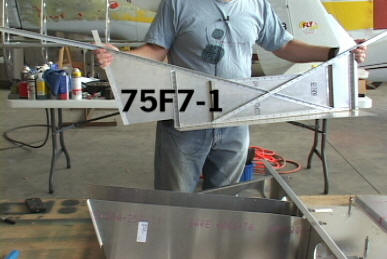
DVD series that continues the building process where Part 1 ends). The pictures on this page were captured from the actual
video footage in order to show the scope of construction provided in
this video volume.
Updated version!
The STOL and CruZer
versions of the CH750 fuselage are nearly identical in design and
construction. These videos are applicable to both models.
Note: This production is not
associated or endorsed by Zenith Aircraft. It does not replace or
supersede the documentation provided with the kit. It is meant to
be an aid in building the aircraft and its methods are presented only as
a suggestion to builders.
This 2 part video is approximately
3
hours in length and is divided into various video chapters to make
navigation and review of desired sections fast and easy.
HomebuiltHELP
Box 111
Brussels, WI 54204
I
|
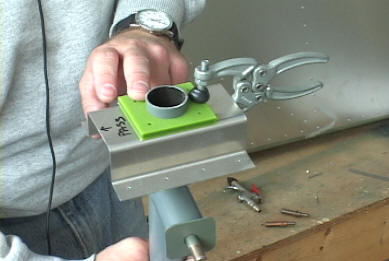
Control bearing fabrication
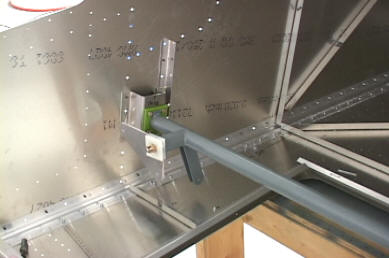
Controls Installation
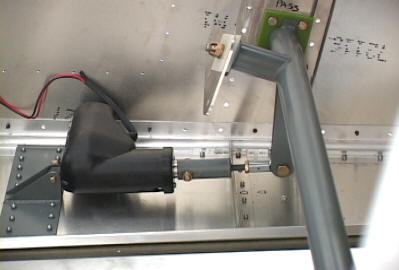
Flap motor installation
Joining the forward and rear fuselage sections

Rudder pedal installation
|
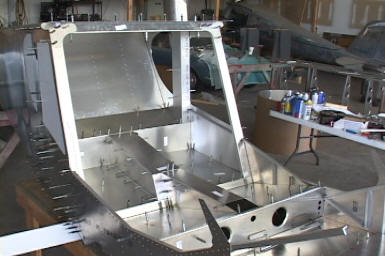
This video takes the fuselage build to this stage of
construction
Drilling the longerons to skins
Bottom fuselage skin reinforcements
Side skin installation
Fuselage top installation
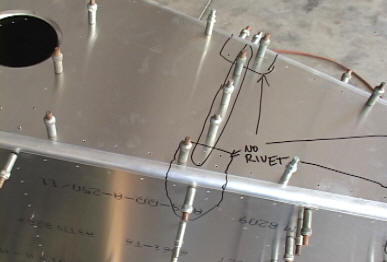
Documenting no rivet zone locations
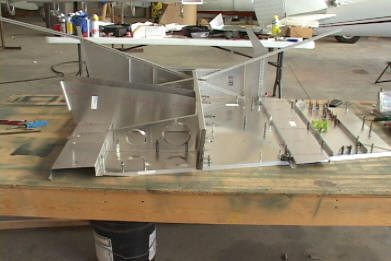
Forward fuselage assembly
Installing fuselage side
|
