Play Video


How we Built our
Zenith CruZer
Tail
A step by step video guide for builders of the popular Zenith CH750 CruZer aircraft kit.

 .Return to Build Videos

 
This video (originally sold as a DVD) is being developed to cover the entire build process for the CH750 CruZer kit. How we Built our CruZer Tail is a great starting place to begin your project – there are no prerequisite assemblies that need to be completed before starting.   To get started, you only need a legal set of plans for the aircraft and at least the tail sub kit from Zenith.  These TAIL DVDs take you from the very beginning steps of assembling the rudder, stabilizer and elevator sections of the aircraft's tail.  The pictures on this page were captured from the actual video footage in order to show the scope of construction provided in this video volume.

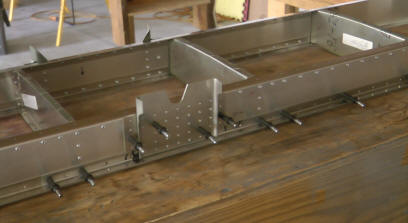
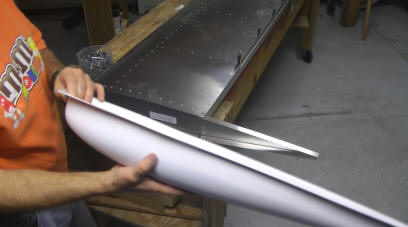
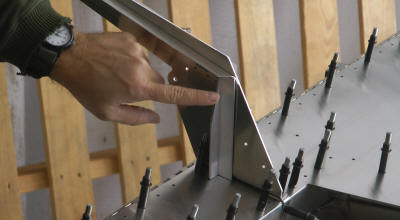
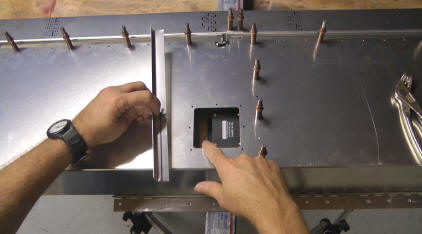
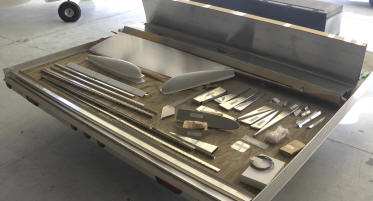
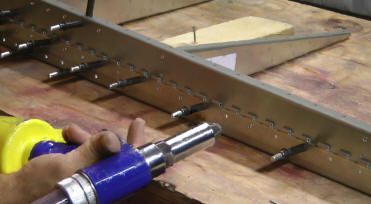
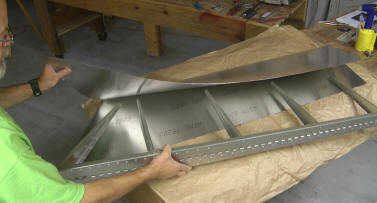
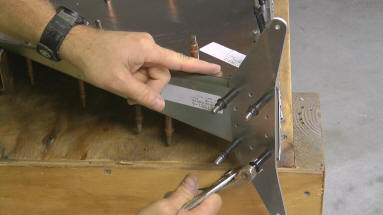
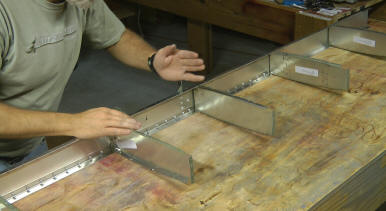
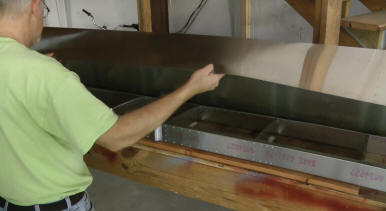
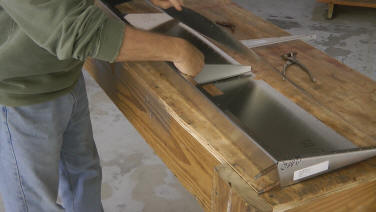
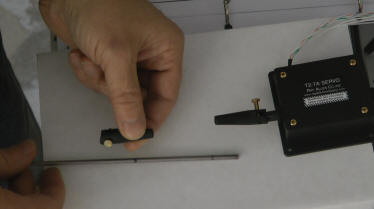
Because the Cruzer Tail is often the first section of the aircraft to be built, a chapter in this DVD series is devoted to the beginning builder.  This chapter demonstrates the use of tools and techniques useful for successful building of the entire CruZer aircraft. specifics include working with metal, riveting, and plans reading. This DVD set is perfect for the first time builder! Watching this DVD is the next best thing to attending a builder's workshop!

Note: This production is not associated or endorsed by Zenith Aircraft. It does not replace or supersede the documentation provided with the kit.  It is meant to be an aid in building the aircraft and its methods are presented only as a suggestion to builders.

This video is approximately 3 hours in length and is divided into various video chapters to make navigation and review of desired sections fast and easy.


Play Video


HomebuiltHELP
Box 111
Brussels, WI 54204


Stabilizer ready for skinning


Installing tips


Elevator horn assembly


Servo installation


Stab and Elevator united


Taking parts inventory before starting


Riveting rudder hinge


Installing skin onto skeleton


Installing rudder horn


Stabilizer rib installation


Installing skin on stabilizer


Elevator rib placement


Trim servo assembly


Rudder ready for riveting


click for sample Video snippet