|
This
video (originally sold as a DVD) is a series of videos developed to cover the entire build
process for the CH601XL or CH650 kit.
FUSELAGE TWO continues the building sequence where
FUSELAGE ONE left off. These 2 video volumes were
designed to be used in sequence to provide a seamless demonstration of
assembling the 601XL fuselage. It takes the builder to almost fuselage
completion, just short of the landing gear assembly. Look to
future volumes to add the wings, canopy and other components.
These videos will save you TIME and MONEY during the building process as
you will make fewer mistakes by watching someone else perform each task.
Our goal is to help you finish your project sooner and also allows you
to do a better job building by providing confidence in having another
builder work by your side!
Note: This production is not
associated or endorsed by Zenith Aircraft. It does not replace or
supersede the documentation provided with the kit. It is meant to
be an aid in building the aircraft and its methods are presented only as
a suggestion to builders.
There are differences between the 601XL and the 650
fuselage construction. While in many instances these videos will help
you with the 650, they were originally filmed building the 601XL
version. You should be aware and review your plans carefully to
identify these differences between the two airframes.
This video is approximately 3
hours in length and is divided into various video chapters to make
navigation and review of desired sections fast and easy
Watch on YouTube
Unsolicited
Testimonial:
Wow ! Having viewed them, it is
difficult to imagine building without them. As a
first time builder I clearly will enter into this
project with a confidence I would not otherwise have
had.
Your production methods have produced a teaching
tool that is clear, and easy to understand... the
next best thing to having you or Gus standing next
to me. Anyone anticipating building a 601xl, would
be a fool not to take advantage of your expertise.
There is real value, here.
Well done. I anxiously await the rest of the series.
Bennett Scheuer
|
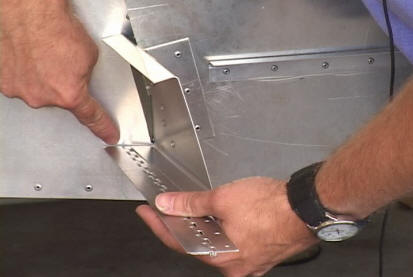
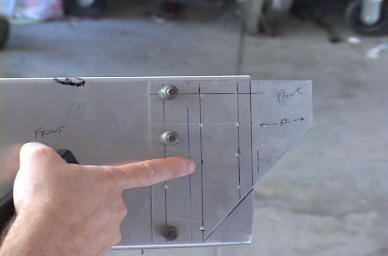
Locating exact position of flap tube opening
Preconstruction of assemblies eases installation
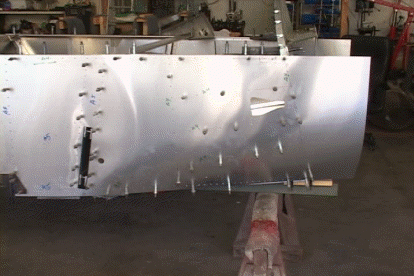
Side skin installation
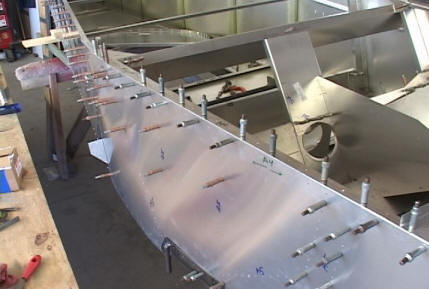
Final check before disassembly and deburring
|
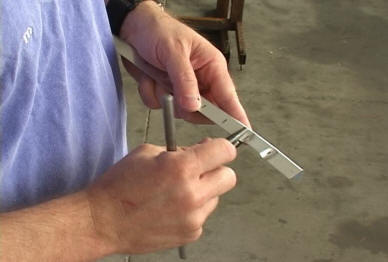
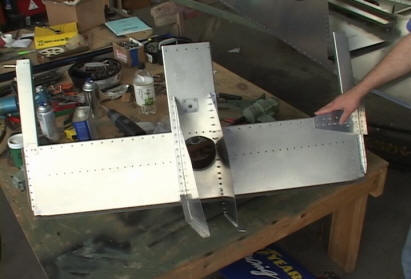
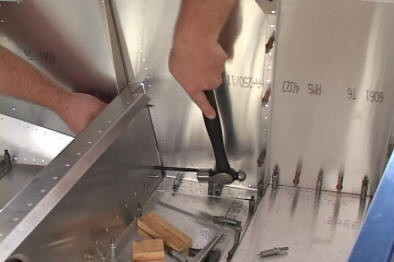
Demonstration of using the crimping tool to form curves.
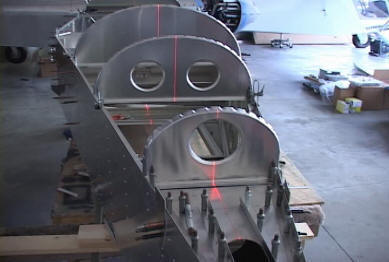
An simple laser is used to keep the fuselage body
square during assembly
A spirit level is also demonstrated on firewall
Layout of no-drill rivet zone for proper assembly
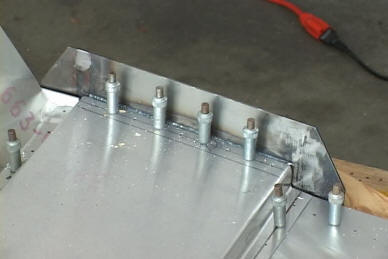
Landing gear bracket install
Marking the spar brackets with punch pin

Fuselage assembly sequence explained
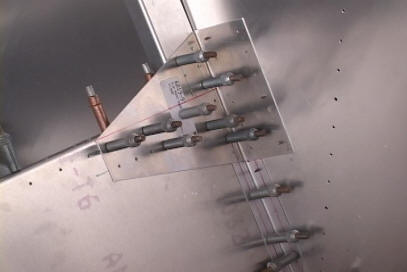
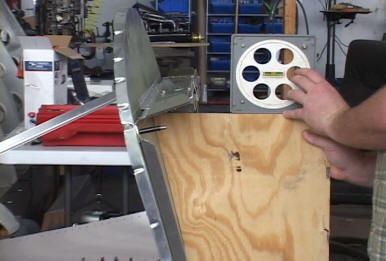
Installing the flap motor gusset
|
